Omnisend Integration
Omnisend is an email and SMS marketing platform built for ecommerce. WP Smart Consent integrates with Omnisend via API v3, adding opted-in contacts directly to your Omnisend account with subscribed status.
Enabling the Integration#
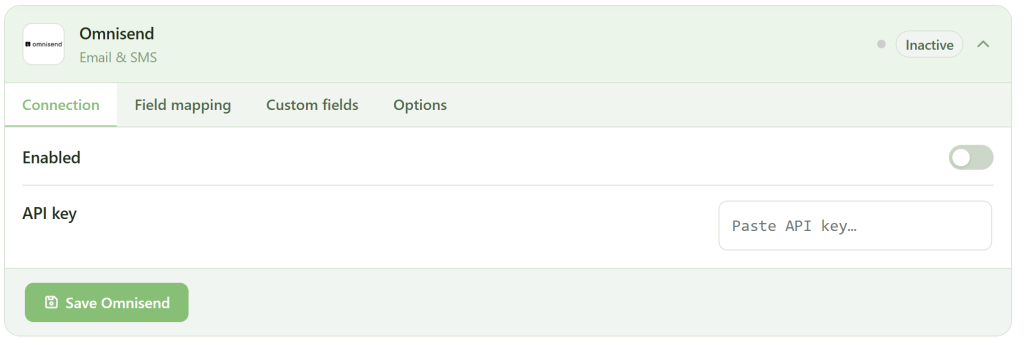
In the WP Smart Consent dashboard, go to CRMs & ESPs, find the Omnisend card, open the Connection tab, and paste in your API key. Toggle the integration on and save.
To generate an API key, log into Omnisend and go to Store Settings → Integrations & API → API Keys. Create a new key with at minimum contact write permissions. Authentication uses the X-API-KEY header.
No List Picker#
Omnisend does not use explicit list membership the way Mailchimp or Brevo do. Contacts are added to your Omnisend account directly and segmentation is done through contact properties, tags, and behavior-based segments built inside the Omnisend dashboard. There is no list selection step in the WP Smart Consent integration — every opted-in contact goes into your account and you segment them from there.
Custom Fields#
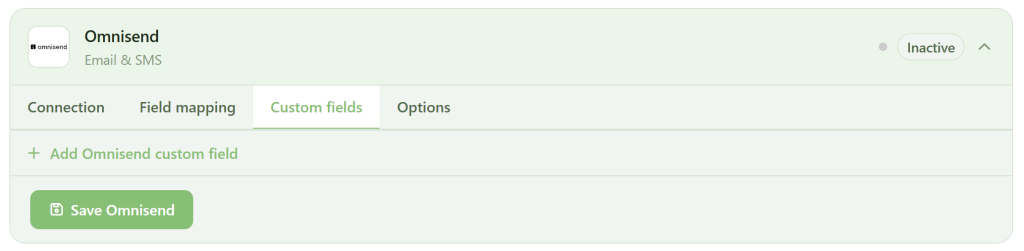
Omnisend stores additional contact data as custom properties. In the Custom fields tab, add a row, select the WPSC source field on the left, and enter the Omnisend custom property name on the right. These are sent inside the customProperties object in the API payload as a key-value map. Custom property names are case-sensitive and should match what you have defined in your Omnisend account.
Field Mapping#
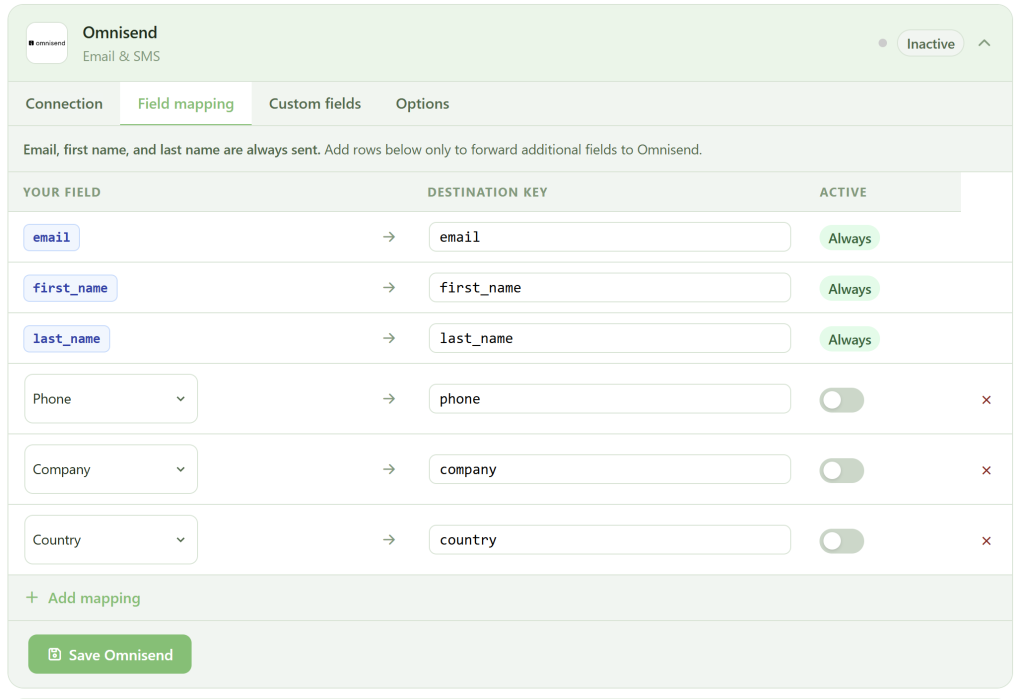
The Field mapping tab maps WPSC fields to Omnisend contact fields. Omnisend’s standard contact fields are firstName and lastName — these are always sent automatically. Any additional field mapping destination keys are sent inside customProperties.
How It Works#
WP Smart Consent sends a POST to https://api.omnisend.com/v3/contacts with the contact data. The contact’s email channel status is set to subscribed with the current timestamp as the statusDate.
If the contact already exists in Omnisend, the API returns a 409 conflict response. WP Smart Consent treats a 409 as a success — the customer is already subscribed, which is the intended outcome. No update call is made on conflict, which means existing contact data is not overwritten on repeat opt-ins.
Tags are included as a string array in the tags field of the contact payload.
Options#
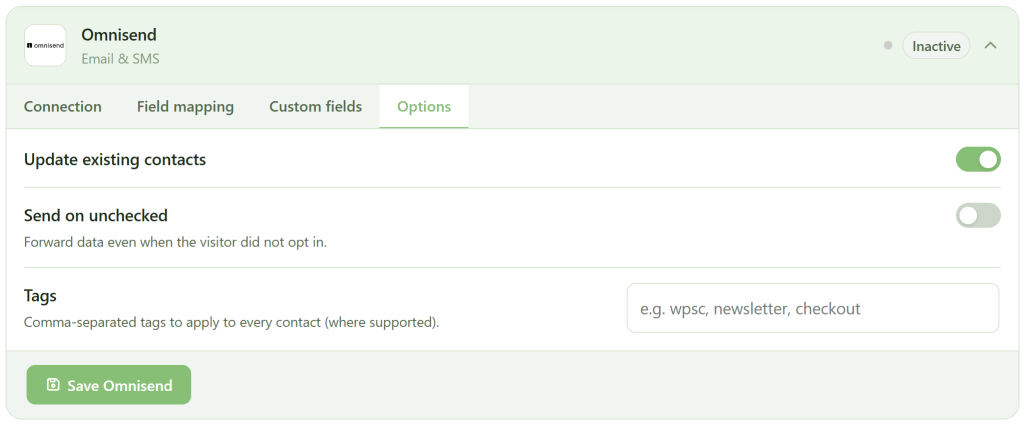
The Options tab has three settings.
Update existing contacts — note that due to Omnisend’s API behavior, existing contacts returning a 409 are treated as already subscribed and no update is made regardless of this setting.
Send on unchecked — when enabled, contacts are forwarded to Omnisend even when the opt-in checkbox was not ticked.
Tags — a comma-separated list of tag strings to apply to every contact. Tags are sent as a string array in the tags field of the API payload.
Troubleshooting#
Contact not appearing — confirm the API key is correct and has contact write permissions. Check the WPSC Logs tab to confirm the opt-in event fired. Also check the WordPress error log for any Omnisend API error responses.
Custom property values not saving — confirm the property name in the Custom fields tab matches exactly what is defined in Omnisend. Custom property names are case-sensitive.
Contact appears but is not subscribed — if an existing Omnisend contact had previously unsubscribed, the 409 path treats them as already handled and does not re-subscribe them. Managing re-subscription for previously unsubscribed contacts must be done directly in the Omnisend dashboard.