Mailster Integration
Mailster (by EverPress) is a self-hosted WordPress email newsletter plugin. WP Smart Consent integrates with it via Mailster’s native PHP API — no external API key or internet connection required. The integration runs entirely on your server.
Enabling the Integration#
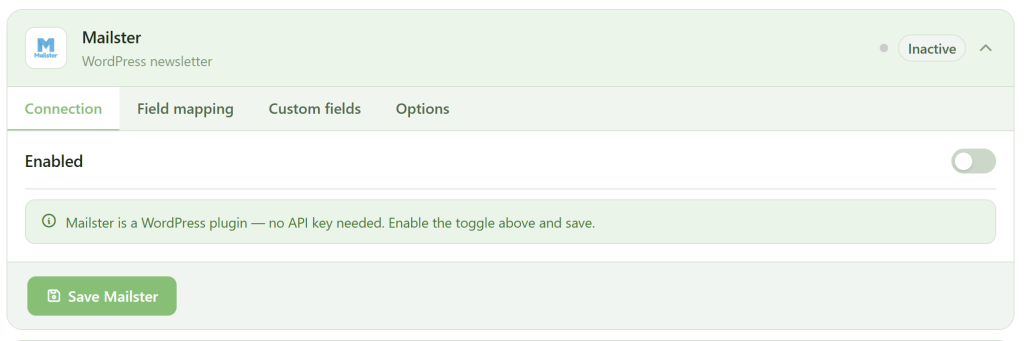
In the WP Smart Consent dashboard, go to CRMs & ESPs, find the Mailster card, open the Connection tab, and toggle it on. Mailster must be installed and active on the same site.
Custom Fields#
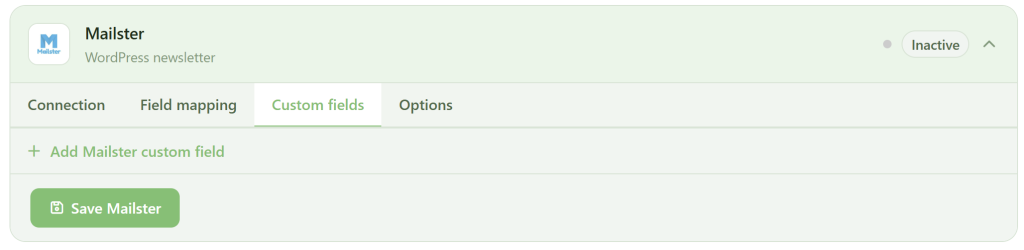
Mailster custom fields are referenced by their slug, defined in Mailster → Subscribers → Custom Fields. In the Custom fields tab, add a row, select the WPSC source field on the left, and enter the Mailster custom field slug on the right. These are merged directly into the subscriber entry array — for example phone, company, or any custom slug you have defined.
Field Mapping#
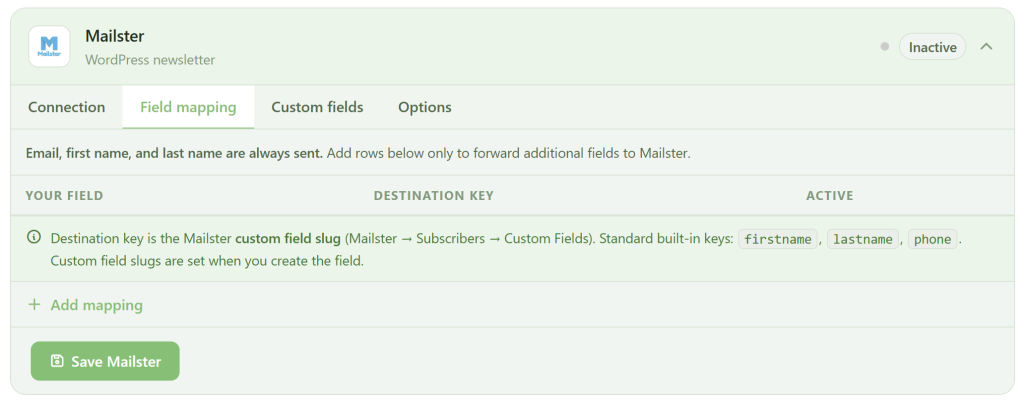
The Field mapping tab maps WPSC fields to Mailster subscriber entry keys. Mailster’s standard entry keys are firstname and lastname. Email is always sent automatically. Any other destination key is treated as a custom field slug and written directly into the subscriber entry, which Mailster stores against that field if it exists.
How It Works#
WP Smart Consent calls mailster('subscribers')->add($entry, true) where the second argument enables overwrite — if a subscriber with the same email already exists their fields are updated. The subscriber entry includes referer: wpsc_checkout so you can filter by origin inside Mailster.
The subscriber status is set based on the opt-in state. A ticked checkbox creates the subscriber as status 1 (subscribed directly, no confirmation email). A contact forwarded via Send on unchecked is created as status 2 (unsubscribed) — the record exists in Mailster for logging but they receive no campaigns.
After the subscriber is created or updated, list assignment is handled via assign_lists() and tags are applied via add_tags(). Tags are resolved by name — if a tag does not exist in Mailster it is created automatically using mailster('tags')->create() before being applied.
The full subscriber entry can be modified before the API call via the wpsc_mailster_subscriber_data filter.
Lists Tab#
The Lists tab is where you select which Mailster newsletter lists opted-in contacts are assigned to. Lists are fetched from your Mailster installation after enabling the integration.
Options#
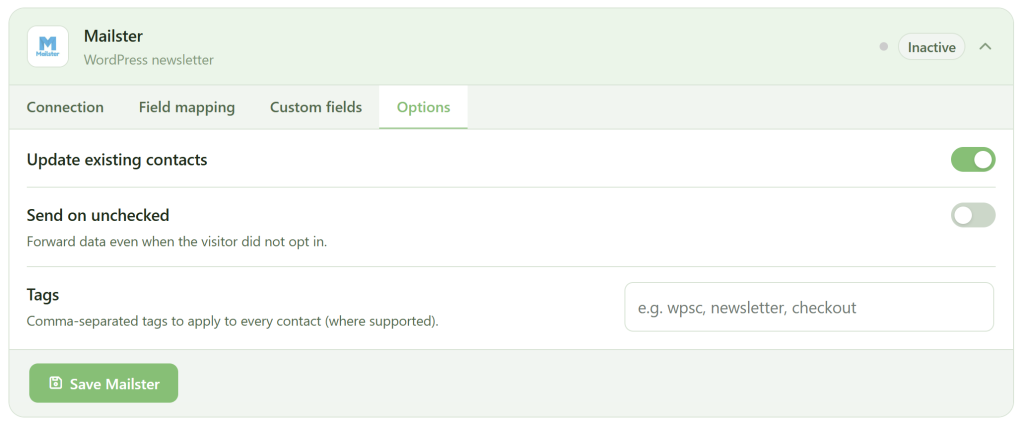
The Options tab has three settings.
Update existing contacts — controls whether an existing Mailster subscriber matched by email has their fields updated on each opt-in.
Send on unchecked — when enabled, contacts are forwarded to Mailster with status 2 (unsubscribed) even when the opt-in checkbox was not ticked.
Tags — a comma-separated list of tag names to apply to every subscriber. Tags are resolved by name and created automatically in Mailster if they do not exist yet.
Troubleshooting#
Contact not appearing — confirm Mailster is installed and active. WP Smart Consent checks for the mailster function at opt-in time and skips the call silently if it is not available.
Custom field values not saving — confirm the destination key exactly matches the custom field slug in Mailster → Subscribers → Custom Fields. Slugs are lowercase and must already exist in Mailster.
Tags not being applied — tags are looked up by name and created if missing. If a tag is not appearing, check the WordPress error log for any Mailster tag creation errors and verify the WPSC Logs tab shows the opt-in event fired.
Subscriber not updating — the add() call uses $overwrite = true by default. If a subscriber is not being updated, confirm the email address matches exactly and check the WordPress error log for any WP_Error responses from the Mailster API.