ActiveCampaign Integration
ActiveCampaign is a widely used email marketing and CRM platform known for its automation capabilities. WP Smart Consent integrates with ActiveCampaign via the Contacts API, forwarding opted-in contacts to your account in real time using a two-step upsert: contact sync followed by list assignment.
What You’ll Need#
An ActiveCampaign API key and API URL. To find them, log into your ActiveCampaign account, go to Settings → Developer, and copy both values. The API URL is account-specific and looks like https://youraccountname.api-as.com.
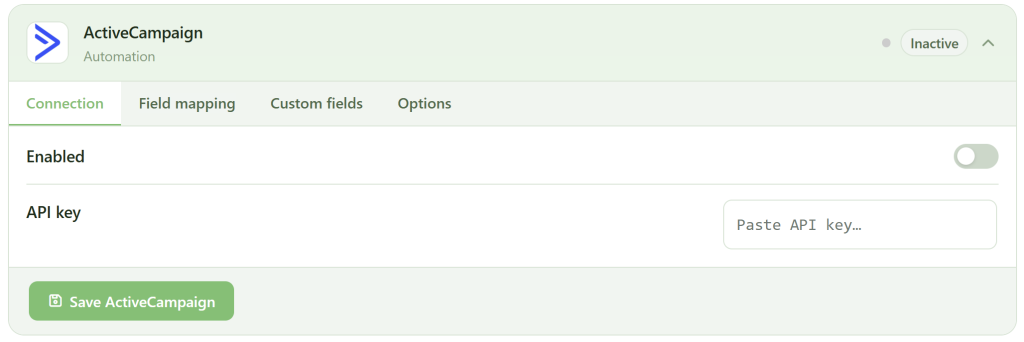
Connection Tab#
Paste your API key and API URL into the Connection tab and save. WP Smart Consent will verify the credentials and populate the list dropdown automatically. Select the list you want opted-in contacts added to. If you have many lists, the dropdown reflects your current ActiveCampaign account in real time.
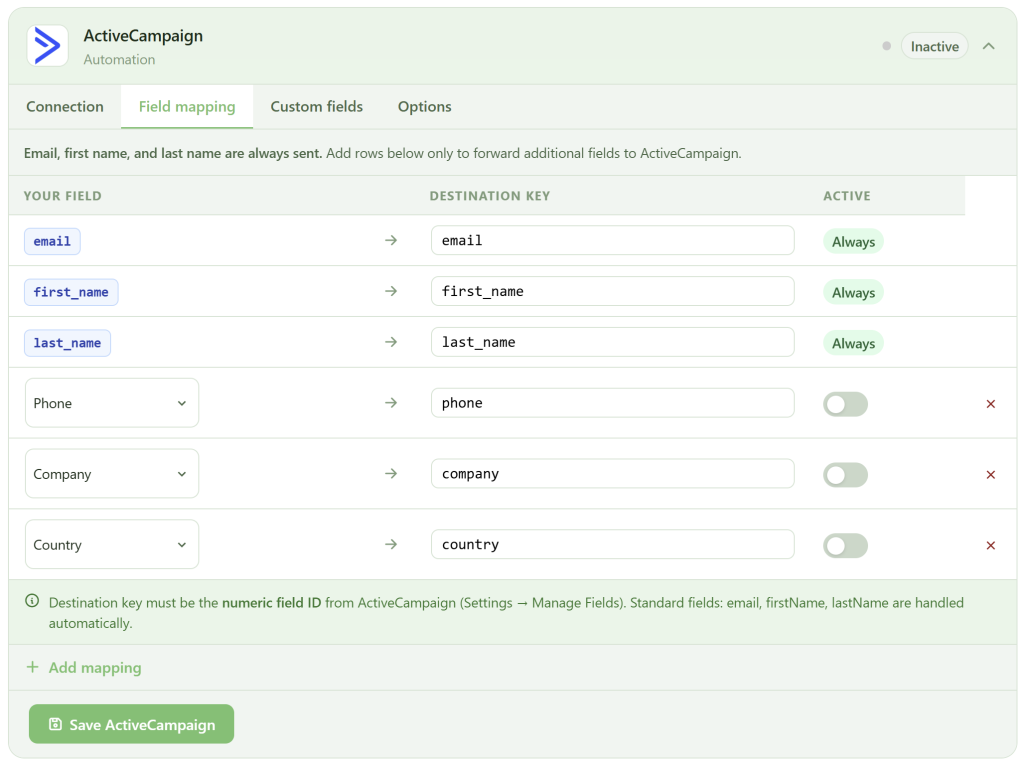
Field Mapping Tab#
Email, first name, and last name are always sent to ActiveCampaign regardless of field mapping configuration. The field mapping tab lets you forward additional contact data to ActiveCampaign custom fields.
ActiveCampaign custom fields are identified by a numeric field ID, not a name. To find a field’s ID, go to Contacts → Manage Fields in your ActiveCampaign account and look at the URL when editing a field, or use the ActiveCampaign API. In the field mapping table, set the destination key to the numeric field ID — for example 5 for a field whose ID is 5.
Available WPSC source fields for mapping: phone, company, country, order total, source URL.
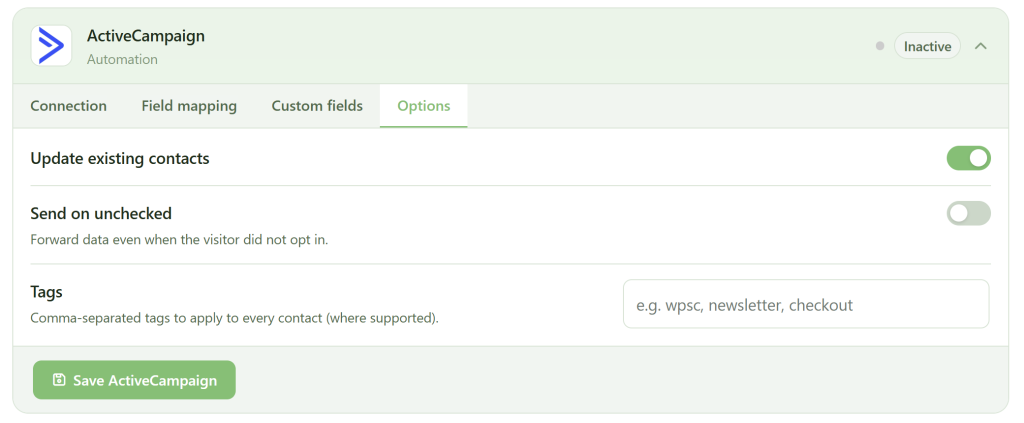
Options Tab#
Update existing — by default, if a contact with the same email already exists in ActiveCampaign they will be updated with any new field values. Disable this if you want to skip contacts who are already in your account.
Send on unchecked — when enabled, contacts are forwarded to ActiveCampaign even when the opt-in checkbox was not ticked. The contact is still created or updated in ActiveCampaign, but the list subscription status reflects the unchecked state. Use this if you manage consent at the ActiveCampaign list level rather than at the checkbox level.
Tags Tab#
Enter a comma-separated list of tags to apply to every contact forwarded through this integration. Tags are applied after the contact sync and list assignment. If a tag does not already exist in your ActiveCampaign account it will be created automatically.
How the API Call Works#
WP Smart Consent uses a two-step process for each opt-in:
POST /api/3/contact/sync— creates or updates the contact record with email, first name, last name, and any mapped customfieldValues.POST /api/3/contactLists— subscribes the contact to the selected list with the configured status (active or unconfirmed for DOI).
If tags are configured, a separate tag assignment call fires after step 2. All three calls happen synchronously in the same WordPress request that processes the opt-in.
Troubleshooting#
Contact not appearing in ActiveCampaign — check that the API URL is exact and includes https://. A trailing slash should not matter but an incorrect subdomain will cause all calls to fail silently. Enable WordPress debug logging to see the raw API response.
Contact appears but not on the list — this usually means step 1 succeeded but step 2 failed. The most common cause is selecting a list that has since been deleted in ActiveCampaign. Re-open the Connection tab, re-select the list, and save.
Double opt-in email not sending — confirm that the list in ActiveCampaign has a confirmation email configured under Lists → Edit → Opt-in confirmation. The WPSC toggle sets the status flag only — the email itself is sent by ActiveCampaign based on list configuration.
Custom field values not saving — verify the destination key in the field mapping table is the numeric field ID, not the field name or label.