Mailjet Integration
Mailjet is an email marketing and transactional email platform. WP Smart Consent integrates with Mailjet via the REST API v3, adding opted-in contacts to one or more contact lists using the managecontact endpoint.
Enabling the Integration#
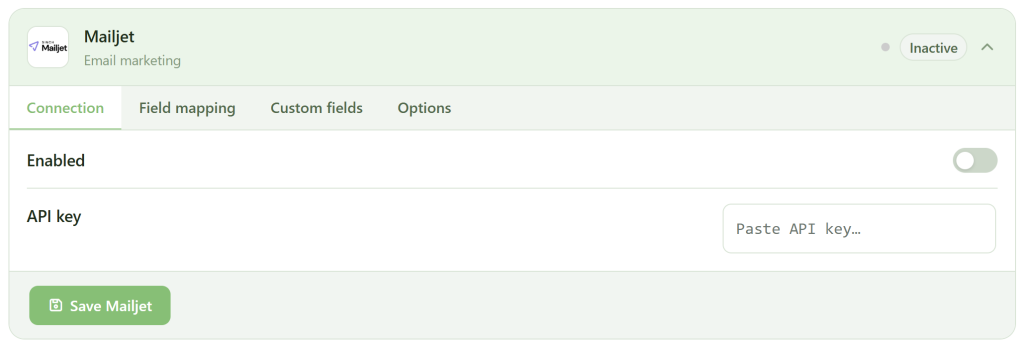
In the WP Smart Consent dashboard, go to CRMs & ESPs, find the Mailjet card, open the Connection tab, and enter your credentials in the format api_key:secret_key — both values separated by a colon, no spaces. Toggle the integration on and save. WP Smart Consent splits the combined credential and uses both values for HTTP Basic authentication.
To find your credentials, log into Mailjet and go to Account Settings → Master API Key & Sub API key management. Copy your API key and Secret key and paste them into the connection field as your_api_key:your_secret_key.
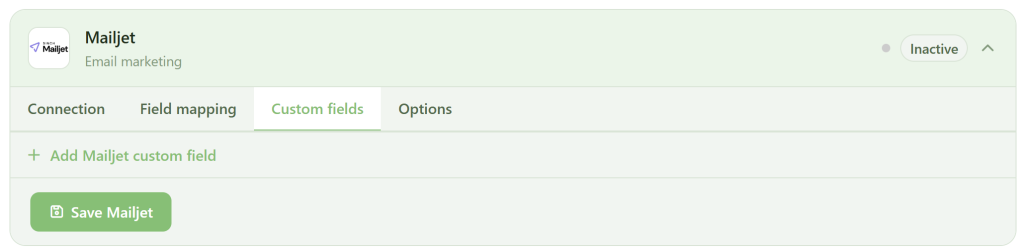
Custom Fields#
Mailjet stores additional contact data as contact properties. Contact properties are defined at the account level under Contacts → Contact properties in the Mailjet dashboard.
In the Custom fields tab, add a row, select the WPSC source field on the left, and enter the Mailjet contact property name on the right. The property name must match exactly what is defined in your Mailjet account — for example firstname, lastname, company, or phone. These are sent inside the Properties object in the API payload.
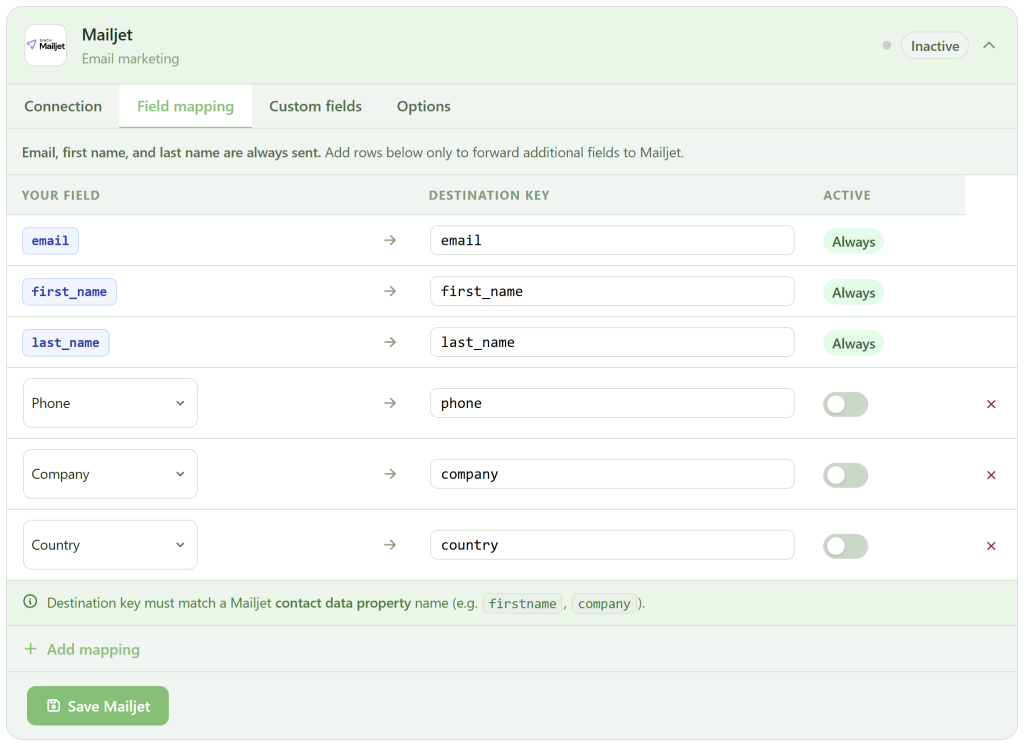
Field Mapping#
The Field mapping tab maps WPSC fields to Mailjet contact property names. Mailjet’s standard property names include firstname, lastname, name (a combined full name string sent as Name at the top level), company, and phone. Destination keys must match the Mailjet contact property name exactly.
How It Works#
WP Smart Consent sends a POST to https://api.mailjet.com/v3/REST/contactslist/{list_id}/managecontact for each selected list. The Action field is set to addnoforce — this adds the contact if they do not exist, and does not overwrite the existing subscription status if they previously unsubscribed, which is the correct behavior to avoid re-subscribing someone without their re-consent.
Authentication uses HTTP Basic with the API key as the username and the secret key as the password. Both are extracted from the combined api_key:secret_key credential stored in the Connection tab.
One call is made per selected list. The Name field is sent as a combined first name and last name string. First name and last name are also sent separately inside Properties as firstname and lastname.
Lists Tab#
The Lists tab is where you select which Mailjet contact lists opted-in contacts are added to. The list is populated automatically from your account after credentials are saved.
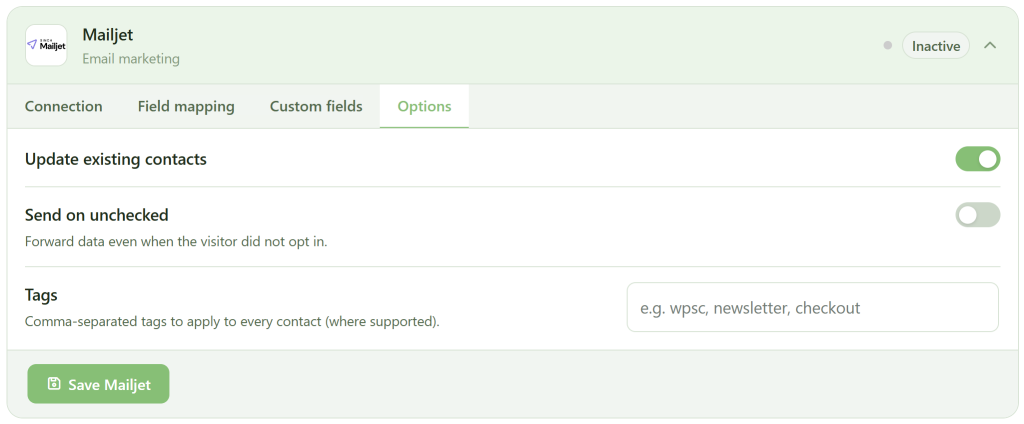
Options#
The Options tab has two settings.
Update existing contacts — controls whether an existing Mailjet contact matched by email has their properties updated on each opt-in.
Send on unchecked — when enabled, contacts are forwarded to Mailjet even when the opt-in checkbox was not ticked.
Troubleshooting#
Credentials not accepted — confirm the combined credential is in api_key:secret_key format with a single colon between them and no extra spaces. Both values are required — a missing secret key returns a 401.
List not populating — credentials are validated and lists are fetched at save time. If the list stays empty after saving, confirm both the API key and secret key are correct.
Custom property values not saving — property names in Mailjet are case-sensitive and must exist in your account before values can be written to them. Go to Contacts → Contact properties in Mailjet to confirm the property name matches what you entered in the Custom fields tab.
Contact not re-added after unsubscribing — the addnoforce action intentionally prevents re-subscribing contacts who previously unsubscribed. To re-subscribe them, the action would need to be changed to addforce, which is not the default. Manage re-subscription directly in the Mailjet dashboard.